MYOG tarp
Since I had been looking for a lightweight, inconspicuous tarp for a long time but had found nothing in the size 3 m × 1.5 m, I decided to sew my own.
Ultralight Hike
Since I had been looking for a lightweight, inconspicuous tarp for a long time but had found nothing in the size 3 m × 1.5 m, I decided to sew my own.
A tarp with these dimensions can only be sensibly set up in the form of a half-pyramid. Since this variant offers the best possible protection from wind and weather, I am happy to accept this limitation.
Materials list:
3 running meters of waterproof fabric
8 m of cord (OBI mason’s line)
60 cm of 550 paracord (without inner strands)
some sturdy fabric for the reinforcements at the guyline points
In my choice of fabrics, I opted for SilPoly and a PU-nylon tent floor fabric.
The choice of fabrics stems from the fact that damp SilPoly stretches considerably less than SilNylon. I therefore hope to avoid having to retension the tarp in rain and strong wind. I used the tent floor fabric because I still had it lying around.
Construction:
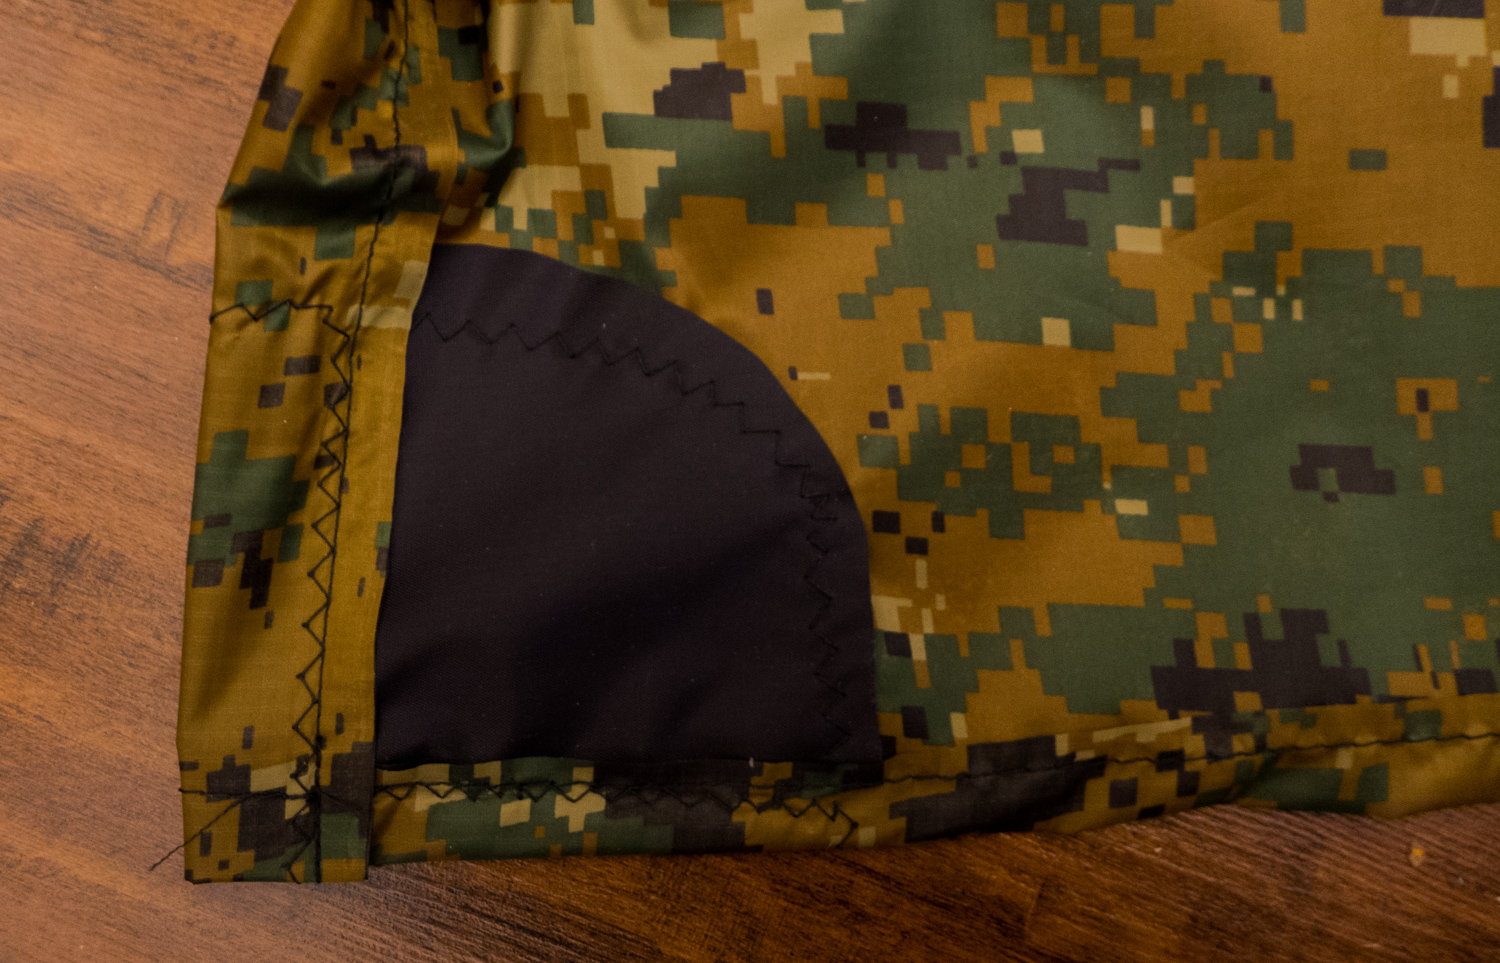
Four quarter-circles must be cut from the sturdy fabric to reinforce the corner points. Additionally, two half-circles are needed for reinforcing the midpoints on the long sides. A large cereal bowl helps when marking the curves, at least if you use it.

Once the reinforcements are cut out, work on the tarp itself can begin. It just needs to be cut to three meters in length.
Once the materials are cut, first sew on the reinforcements with a zigzag stitch. These reinforcements serve to distribute the tensile forces across more material and prevent the fabric from tearing out.
The next step would be hemming the edges. This way the frayed edges are no longer visible. The seams do not need to be sealed, since they are on the edge of the tarp anyway.
When hemming, it is advisable to increase the stitch length. With a stitch length set too tight, the material will be heavily perforated and forms a perfect tear-off edge. That would be rather counterproductive in stormy weather.
It has proven effective to hem the short edges first, then the long ones.
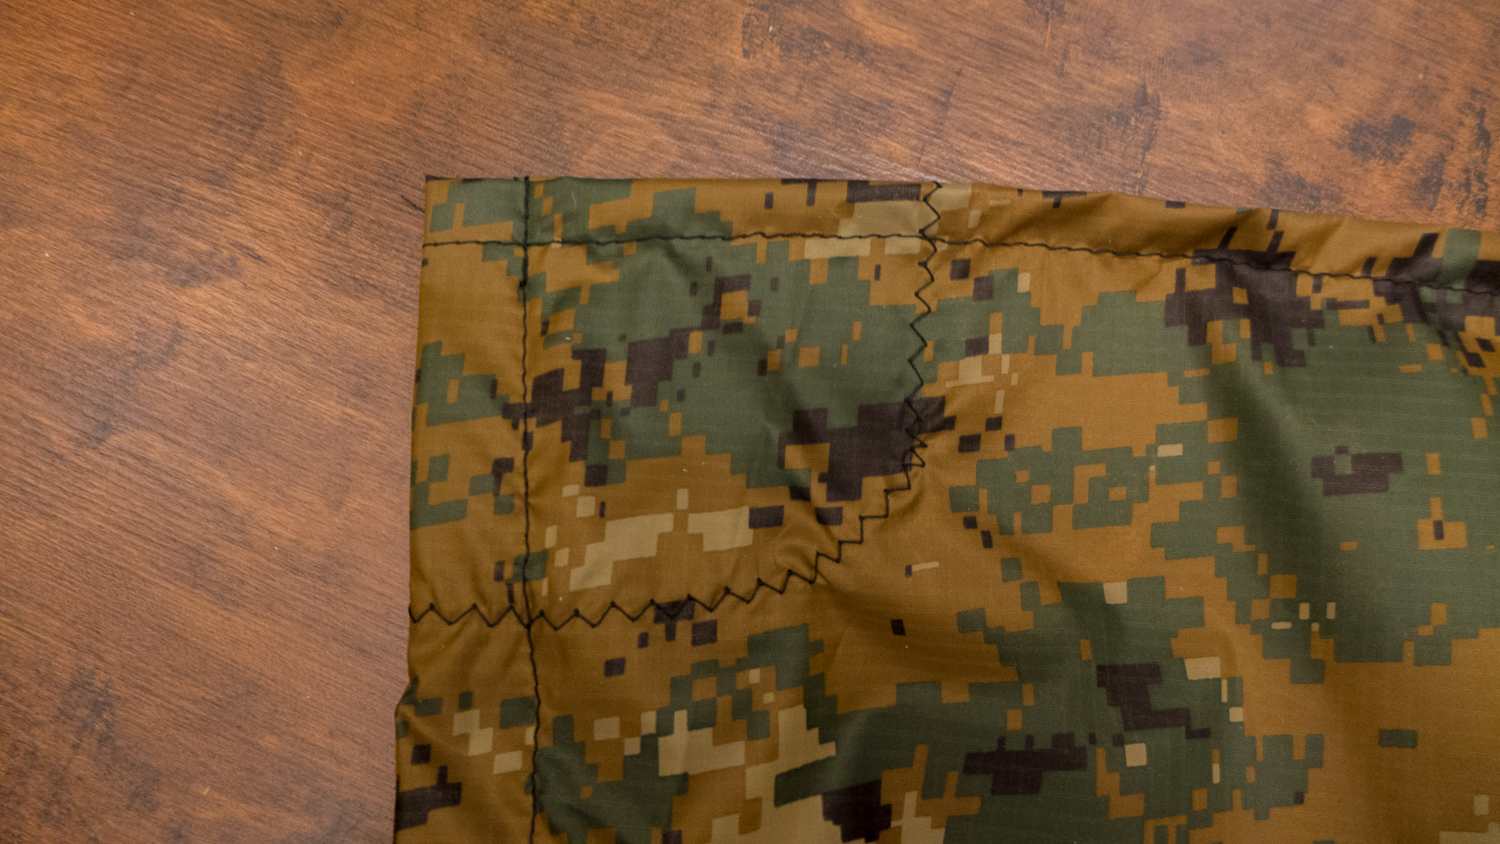
After hemming, the tarp is almost finished. Only the loops are missing. For these, you need to remove the inner strands from about 10 cm long pieces of paracord and sew them on as follows:
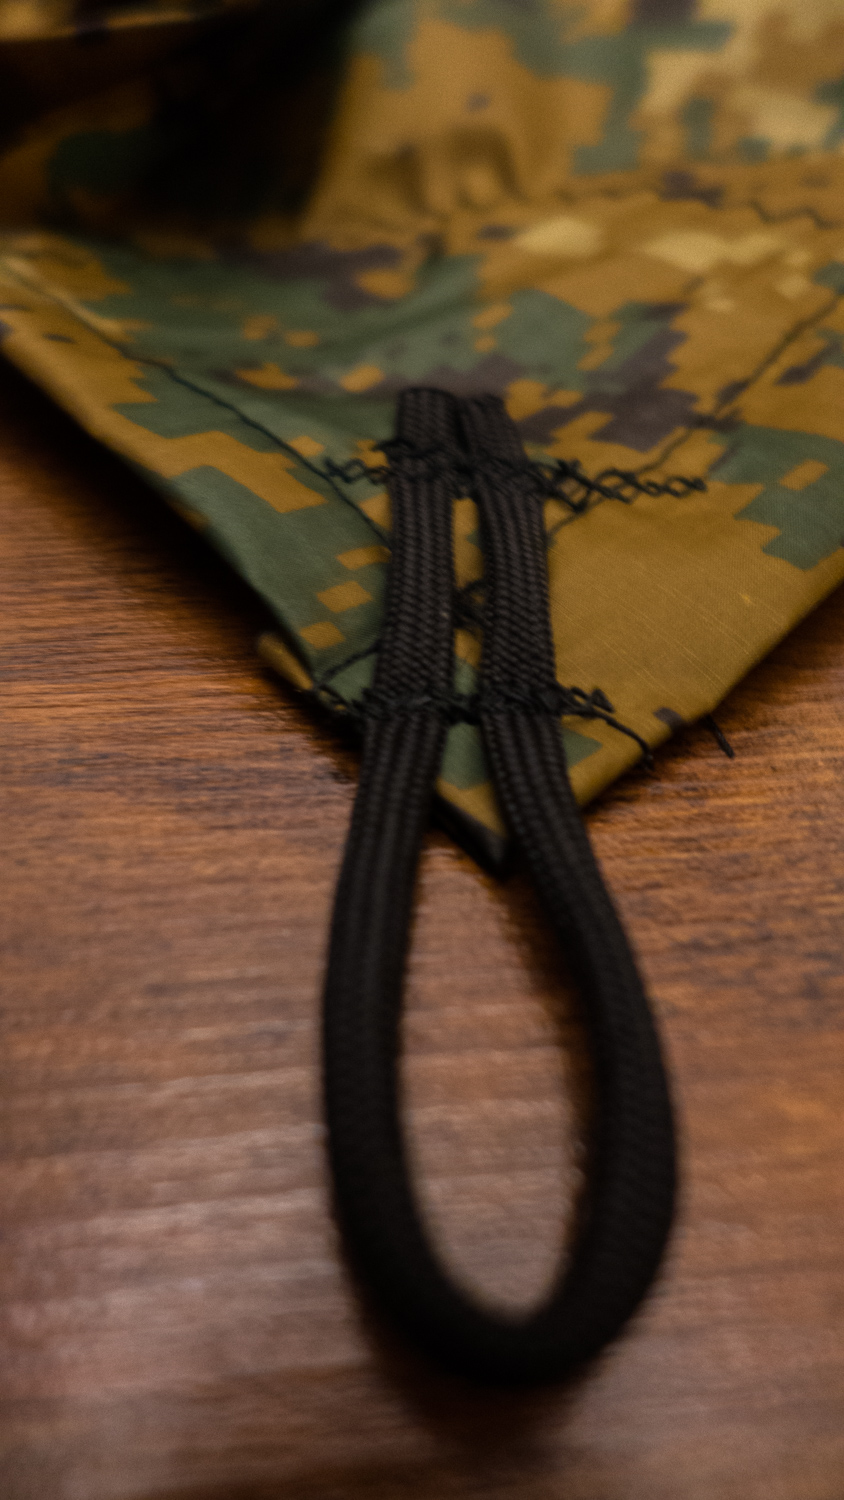
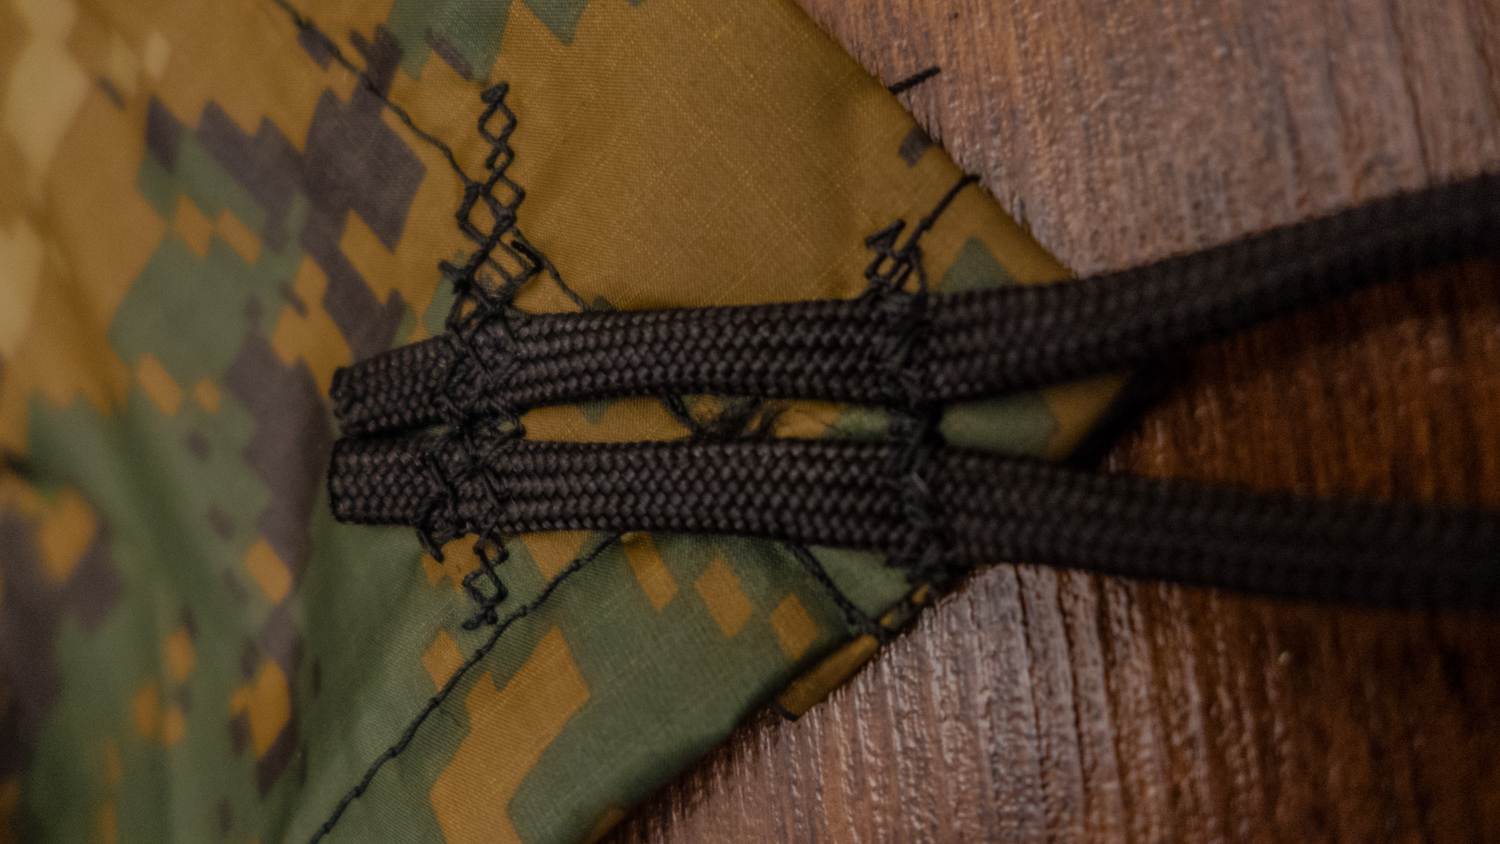
That means the tarp is already sewn and finished.
For faster setup, I attached the cords to the loops with a bowline fastened. At the other end, I also attached a bowline for holding the tent stake.
I chose the line lengths as follows:
The four corners each have 50 cm
One of the middle reinforcements has ~1 m
The opposite side 3 m with a line tensioner
An alternative to the line tensioner would be a topsail sheet bend, but unfortunately it does not hold on my remaining piece of unsheathed Dyneema cord. And I did not want to buy new hardware store cord specifically for this project on which it would hold.
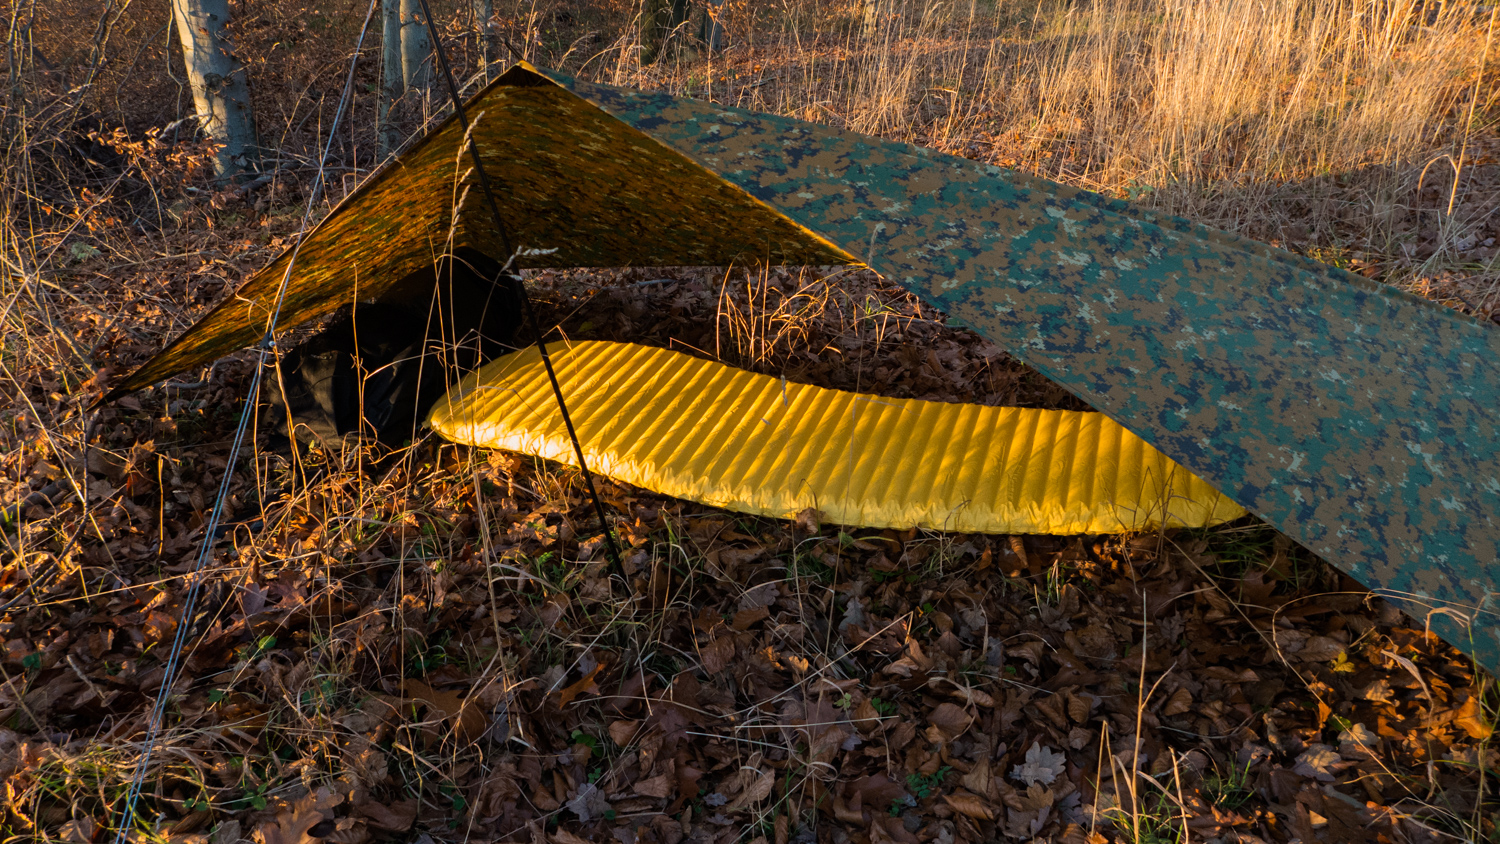
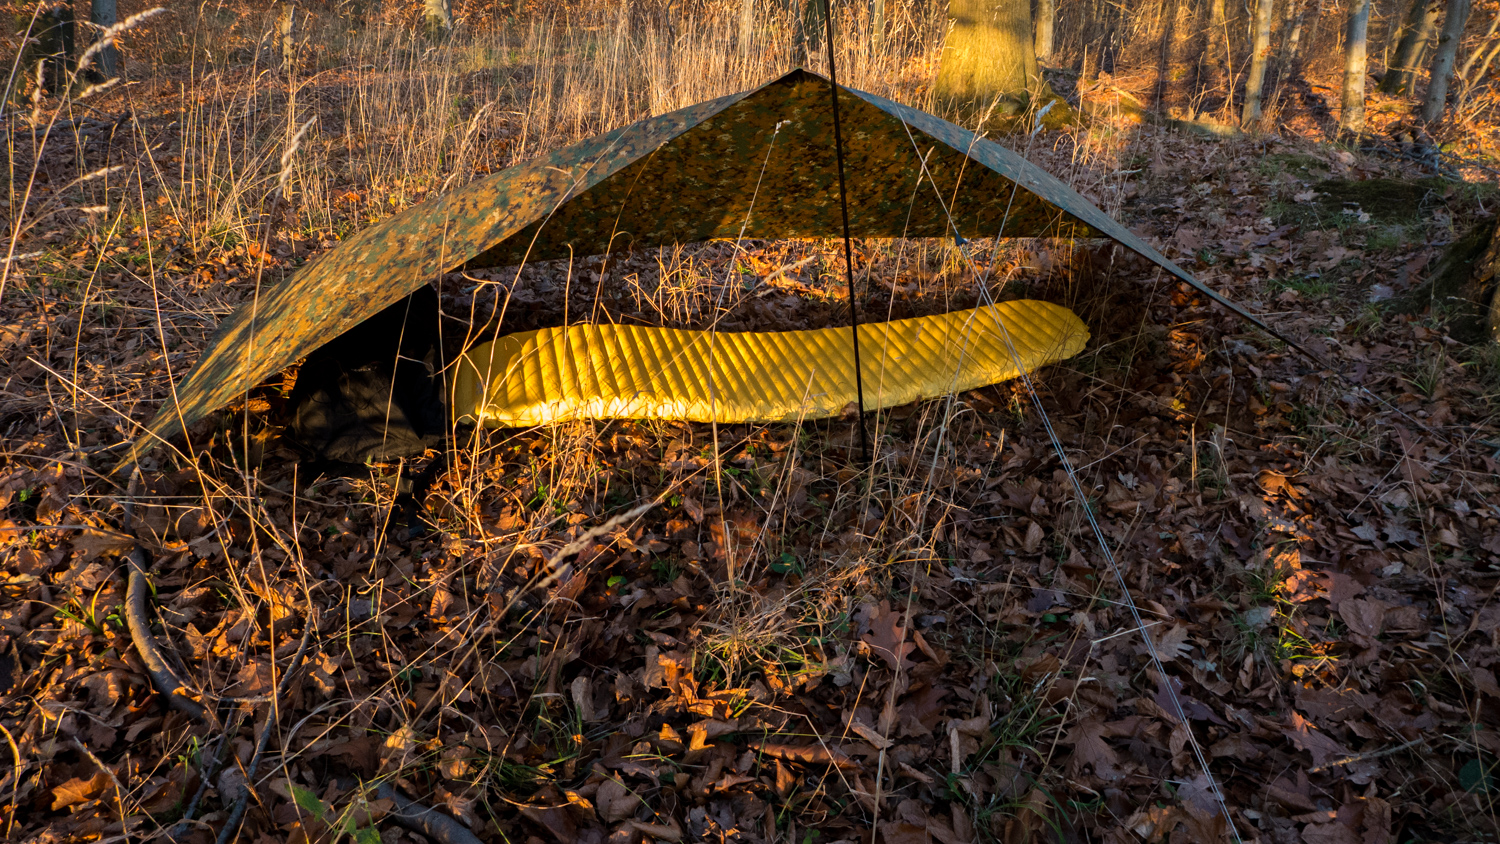
But since pictures always say more than a thousand words, here is the tarp set up with an XLite pad (1.83 m long) for size comparison.
A few numbers:
Setup is possible in a very short time.
Setup is done in 1–2 minutes.
This project is a good and inexpensive way to get a lightweight tarp. For example, with second-quality fabrics from ExtremTextil, material costs can be reduced to just €20!
Thanks to micha90 from the ULTF for the opportunity to try his out.
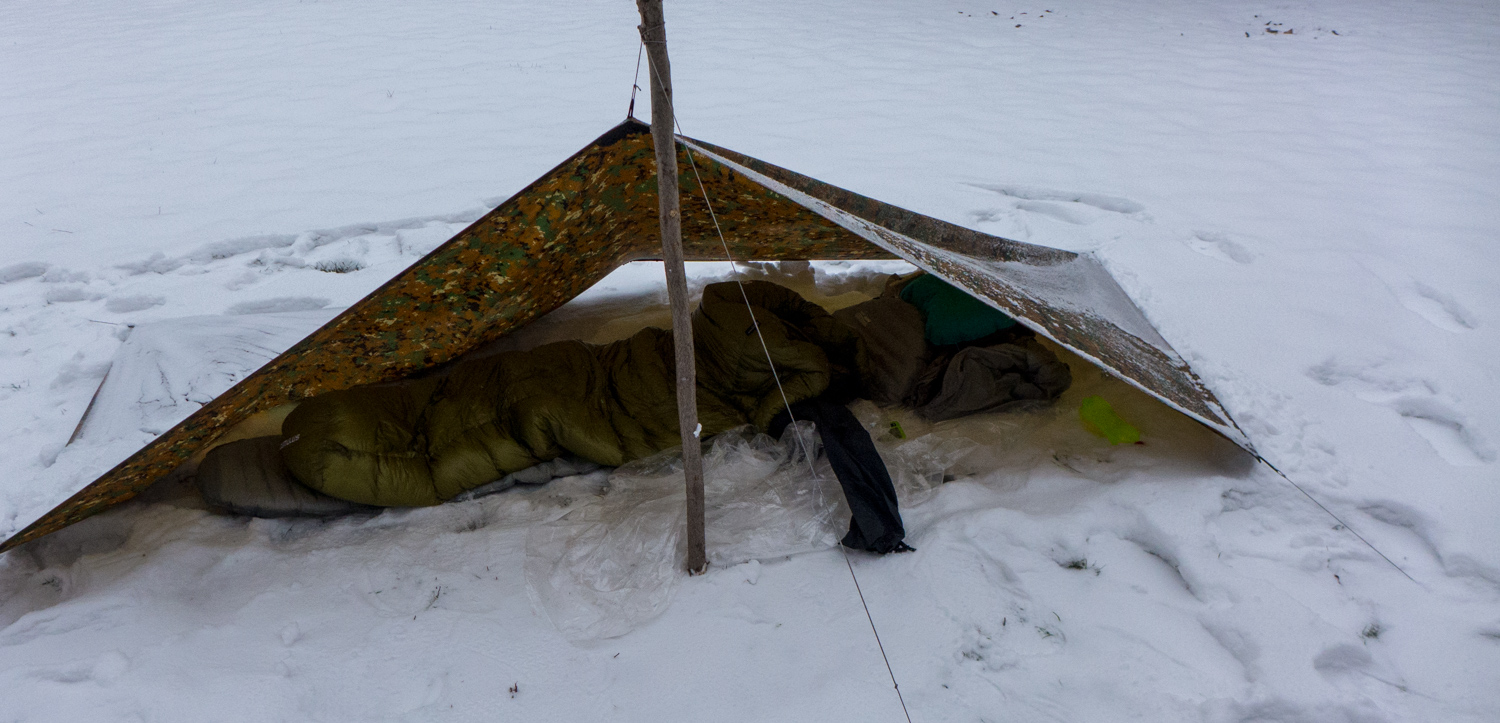
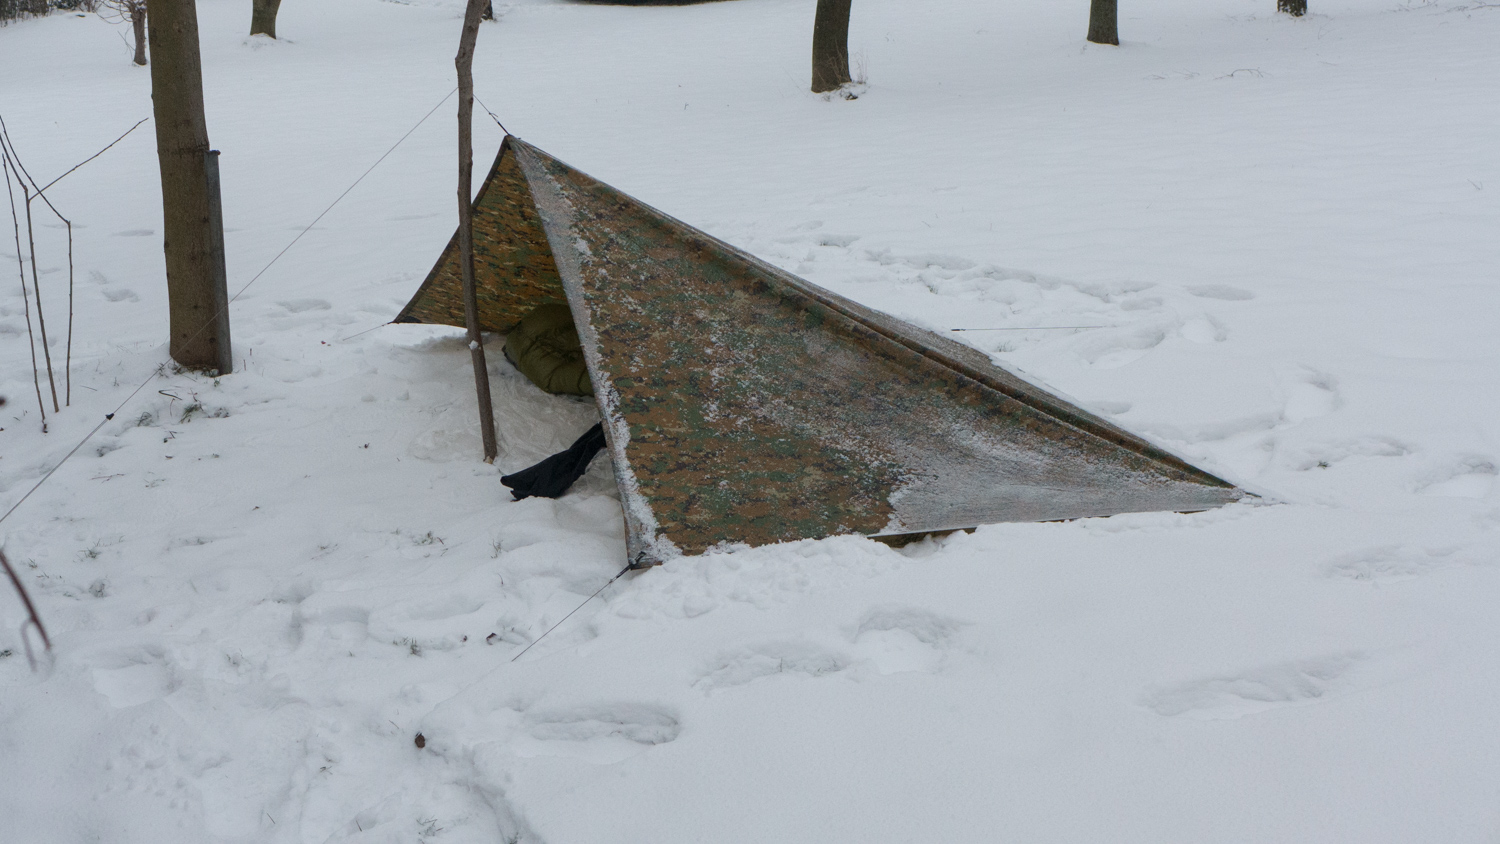
Here are a few more pictures of the tarp in action: